What to Do With Your Beeswax: Candles, Lip Balm, and More
| HiveBloom
Most beekeepers are sitting on more wax than they realize. Cappings from honey extraction, old dark comb you’ve rotated out, burr comb scraped off frames during inspections. It adds up fast, and it’s too good to throw away.
Here’s how to turn that wax into something useful, starting with the basics of getting it clean.
Rendering and Cleaning Your Wax
Raw wax from cappings and old comb is full of debris: propolis, cocoon fragments, pollen, and bits of dead bee. You need to render it before you can use it for anything.
The simplest method is a solar melter. A double-paned wooden box with a sloped tray and a container at the bottom. Set it in full sun, load your comb, and let the heat do the work. The wax melts and flows through a strainer into your collection container. Debris stays behind. This works well for cappings but takes longer with dense old comb.
For faster rendering, use a double boiler on the stove. Never put wax directly over a flame. It’s flammable, and a wax fire is not a small problem. Melt your wax in a container set over hot water, strain it through an old pillowcase or cheesecloth into your collection container, and let it cool slowly. Once solid, any remaining crud will have settled to the bottom. Slice it off.
Old dark comb may take two or three rendering and filtering passes to come out reasonably clean. Don’t expect it to be perfectly golden. Dark comb produces darker, brownish wax. It’s still perfectly usable for candles and other projects. Cappings wax comes out much lighter and is worth keeping separate if you want the prettiest color.

HiveBloom lets you log wax yield alongside your honey harvest totals, which is useful for tracking how much you’re accumulating season over season.
Candle Making
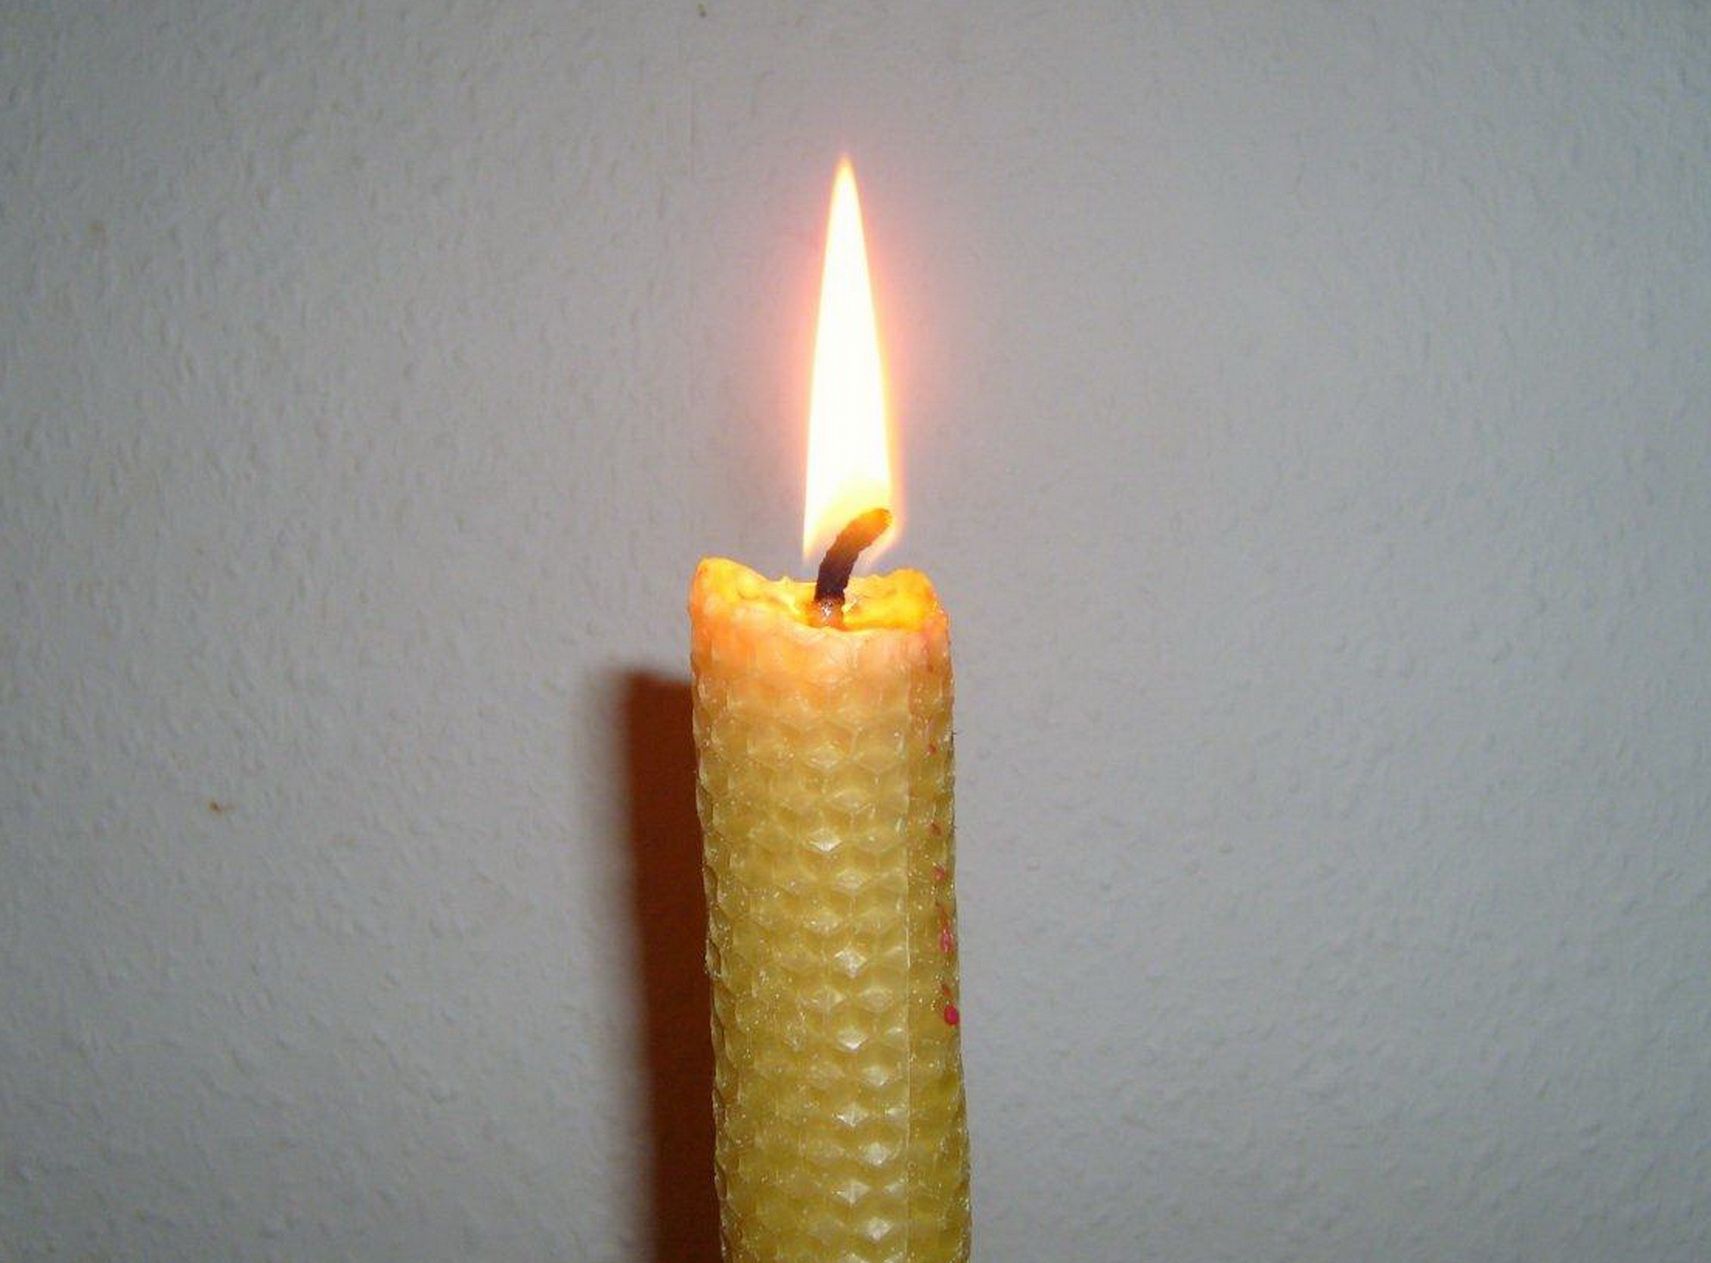
This is the most satisfying use of beeswax. Beeswax candles burn longer and cleaner than paraffin, have a natural honey scent, and look beautiful. Once you have clean wax, the options are straightforward.
Rolled Candles
This is the easiest starting point. Buy a sheet of beeswax foundation (or use thin foundation from your own hives), lay a length of cotton wick along one edge, and roll it up tightly. Press the final edge gently to seal it. Done.
Rolled candles are quick to make and require no melting at all. They burn well but are somewhat soft and can droop in a warm room. Great for gifts and for getting your feet wet.
Dipped Candles
Dipped tapers are the traditional method and produce a beautiful, dense candle. You need a tall container deep enough for the full length of your candle, a lot of wax, and patience.
Melt enough wax to fill your dipping container. Keep it around 155-160F. Tie two or three lengths of wick onto a dowel, spaced so they won’t touch. Dip the wicks into the wax for a few seconds, pull them out, let them cool for 30-60 seconds (they should be cool to the touch before the next dip), and repeat. You’re building up the candle one thin layer at a time.
It takes 20-30 dips to build a decent taper. Work slowly and give each layer time to set. If you dip too fast, the wax won’t bond properly and layers will separate. If your dipping wax gets too cool, the candle will come out lumpy rather than smooth. Keep a thermometer handy.
A small trick: after your last dip, do a final dip in slightly cooler wax (around 145F). This gives the finished candle a smoother surface.
Hang your tapers to cool fully before cutting them off the dowel. They’ll shrink a bit as they set, which is normal.
Poured Candles
Poured candles (container or pillar) are what most people picture when they think of making candles. You melt wax, pour it into a mold or container, and let it set around a wick.
A few things that matter:
Wick sizing. This is the most common failure point. Too thin a wick and the candle tunnels (melts straight down through the center, leaving a wall of unmelted wax). Too thick and it smokes and drowns. Wick sizing charts exist online, keyed to candle diameter. Print one out and use it. For beeswax specifically, you’ll often need to go up one size from what the chart suggests, since beeswax is denser than paraffin.
Pour temperature. Pour beeswax at around 155-160F. Hotter than that and it may crack as it cools. Cooler and you’ll get a dull, frosted surface.
Sinkholes. As beeswax cools it contracts, often leaving a depression around the wick. Have extra wax ready for a second pour once the first layer has mostly set (but while the center is still soft enough to accept more wax).
Molds. Silicone molds release beeswax easily. Metal molds work too. Avoid plastic molds that aren’t rated for high heat. Mason jars make excellent container candles and look great as gifts.
For pillar candles, let the wax cure for 24 hours before unmolding. The candle will be more durable and resist cracking.
Other Uses for Beeswax
Candles get the most attention, but beeswax has a dozen other applications.
Lip balm. Melt together beeswax, coconut oil, and a small amount of sweet almond oil. Pour into small tins or tubes. A basic ratio is about 1 part wax to 4 parts oil by volume, adjusted to your preference for firmness. Add a drop of peppermint or vanilla extract if you like.
Beeswax food wraps. Melt wax into cloth using a warm iron or oven. The resulting wraps can be molded around bowls and food by hand heat. They’re reusable, washable in cool water, and a decent replacement for plastic wrap. Pine resin and jojoba oil are often added to improve tackiness.
Wood and leather conditioning. Pure beeswax is a traditional finish for cutting boards, tool handles, and leather goods. Melt it with a bit of mineral oil or neatsfoot oil, let it solidify, and rub it in by hand. The heat from friction helps it penetrate.
Thread and string waxing. Drag thread across a block of beeswax before hand-sewing through thick material. It cuts friction dramatically and keeps thread from tangling.
Drawer slides and stuck zippers. Rub a block of wax directly on a sticking drawer runner or zipper track. Works better than any spray lubricant and lasts longer.
Common Mistakes to Avoid
Overheating the wax. Keep it below 185F. Above that, the color darkens and the scent degrades. Above 400F it can ignite. Use a thermometer, not guesswork.
Water contamination. Even a small amount of water in hot beeswax will cause it to spit and spatter. Make sure your containers and tools are completely dry.
Skipping the second pour on container candles. The sinkhole isn’t a cosmetic issue, it affects burn quality. Always top off.
Using cheap wicks. Cotton core wicks designed for beeswax are worth buying. Pre-waxed in beeswax is even better. A bad wick will ruin an otherwise good candle.
Beeswax takes a bit of setup, but once you have your rendering and candle-making gear together, it becomes a genuinely enjoyable part of the beekeeping year. There’s something satisfying about following a harvest all the way from capped comb to a finished candle.