OTS Queen Rearing: Raise Your Own Queens Without Grafting
| HiveBloom
Raising your own queens used to mean learning to graft: picking up a larva the size of a comma on a tiny tool and transferring it without damage. It’s a skill, and plenty of beekeepers never bother.
OTS (On The Spot) queen rearing skips grafting entirely. You notch the comb next to existing young larvae and the bees draw out queen cells right there. No special equipment, no grafting tools, no queen rearing setup. It was developed by Mel Disselkoen and has become popular with small-scale beekeepers precisely because it’s simple enough to do with one hive.
Why It Works
Bees raise queens from fertilized eggs or very young larvae (under three days old). Normally they do this when they need to: the colony is queenless, preparing to swarm, or replacing a failing queen. OTS creates the right conditions deliberately by notching the comb below a young larva, which signals to the bees that the cell is damaged and needs a queen to be raised from it.
The result is queen cells built in place, on the original frame, from larvae the beekeeper selected. Quality queens, minimal intervention.
When to Do It
Timing matters. You want to run OTS when:
- The colony has a good population of nurse bees (spring through midsummer)
- There is an active nectar flow, or you’re feeding
- Daytime temperatures are consistently above 60F (15C)
- You have at least one other colony to source larvae from (or you’re splitting the source hive)
Spring and early summer are the sweet spot in most climates. A strong colony with lots of young bees will accept and finish queen cells reliably. Weak colonies or late-season timing often produce poorly-fed queens.
Step by Step
1. Find a Frame of Young Larvae
Open the donor hive and find a frame with eggs and very young larvae. You’re looking for larvae that are tiny, curled, and barely visible in the bottom of the cell. Larvae that are too old (larger, more C-shaped) are past the point where bees will raise them as queens.
Mark the frame or note which one it is.
2. Notch the Cells
Hold the frame so you can see the face of the comb. Find a row of young larvae near the center of the frame. Using your hive tool or a small knife, scrape away the bottom of each alternate cell wall, just below where a target larva sits. You’re removing about a third of the cell wall on the bottom edge.
This notching exposes the larva from below and signals to nurse bees that the cell is compromised. Skip every other cell to give each developing queen cell space.
Do not remove the larva. You’re modifying the cell around it, not touching the larva itself.
3. Destroy the Existing Queen (or Split)
To guarantee the bees raise queens from your notched cells, the frame needs to go into a queenless environment. You have two options:
- Split: Move the notched frame plus two or three frames of bees and food into a new box. No queen goes in. The bees, now queenless, will build queen cells from your notched larvae.
- Full hive: Remove the original queen from the source hive and place the notched frame back in. The whole colony will raise queens.
The split approach is lower risk. The original colony keeps its queen and keeps building up. The split raises new queens independently.
4. Leave Them Alone
This is the part most beekeepers struggle with. Once you’ve set up the queenless split, close it up and do not open it for seven days. Opening the hive during this period risks destroying queen cells before they’re capped.
After seven days you can take a quick look to confirm queen cells are present. They should be capped (or close to it) and look like peanuts on the face of the comb.
What to Expect After
The timeline from notching to a mated, laying queen runs about four weeks:
- Day 0: Notch cells, set up queenless split
- Day 7-10: Queen cells capped
- Day 14-16: Virgin queens emerge
- Day 18-24: Virgin queens take mating flights (weather permitting)
- Day 25-30: New queen begins laying
Check for eggs three to four weeks after you set up the split. If you see eggs in a solid pattern, you have a mated queen and the process worked. If the split is still queenless after five weeks, something went wrong and you’ll need to add a frame of fresh eggs or introduce a queen.
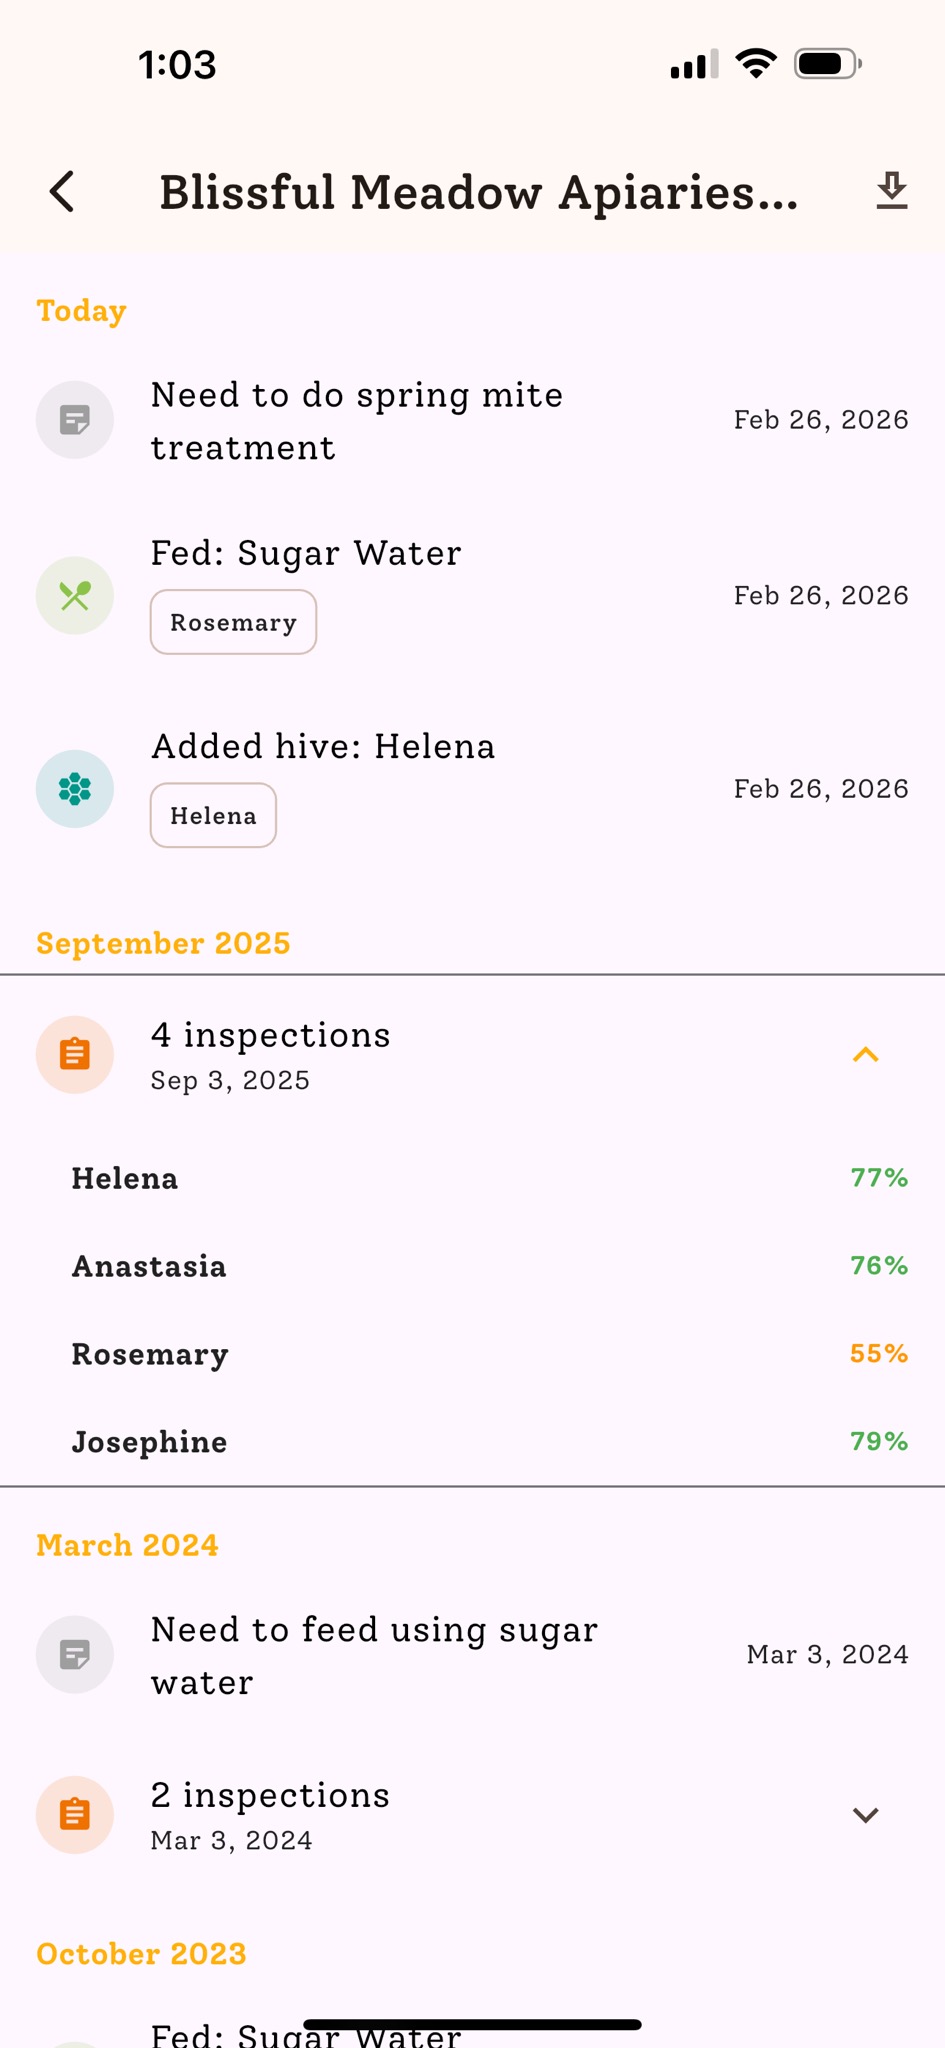
Recording the Timeline
Queen rearing has a lot of moving parts across several weeks. It’s easy to lose track of when you set up the split, when you expect queens to emerge, and when you should check for eggs.
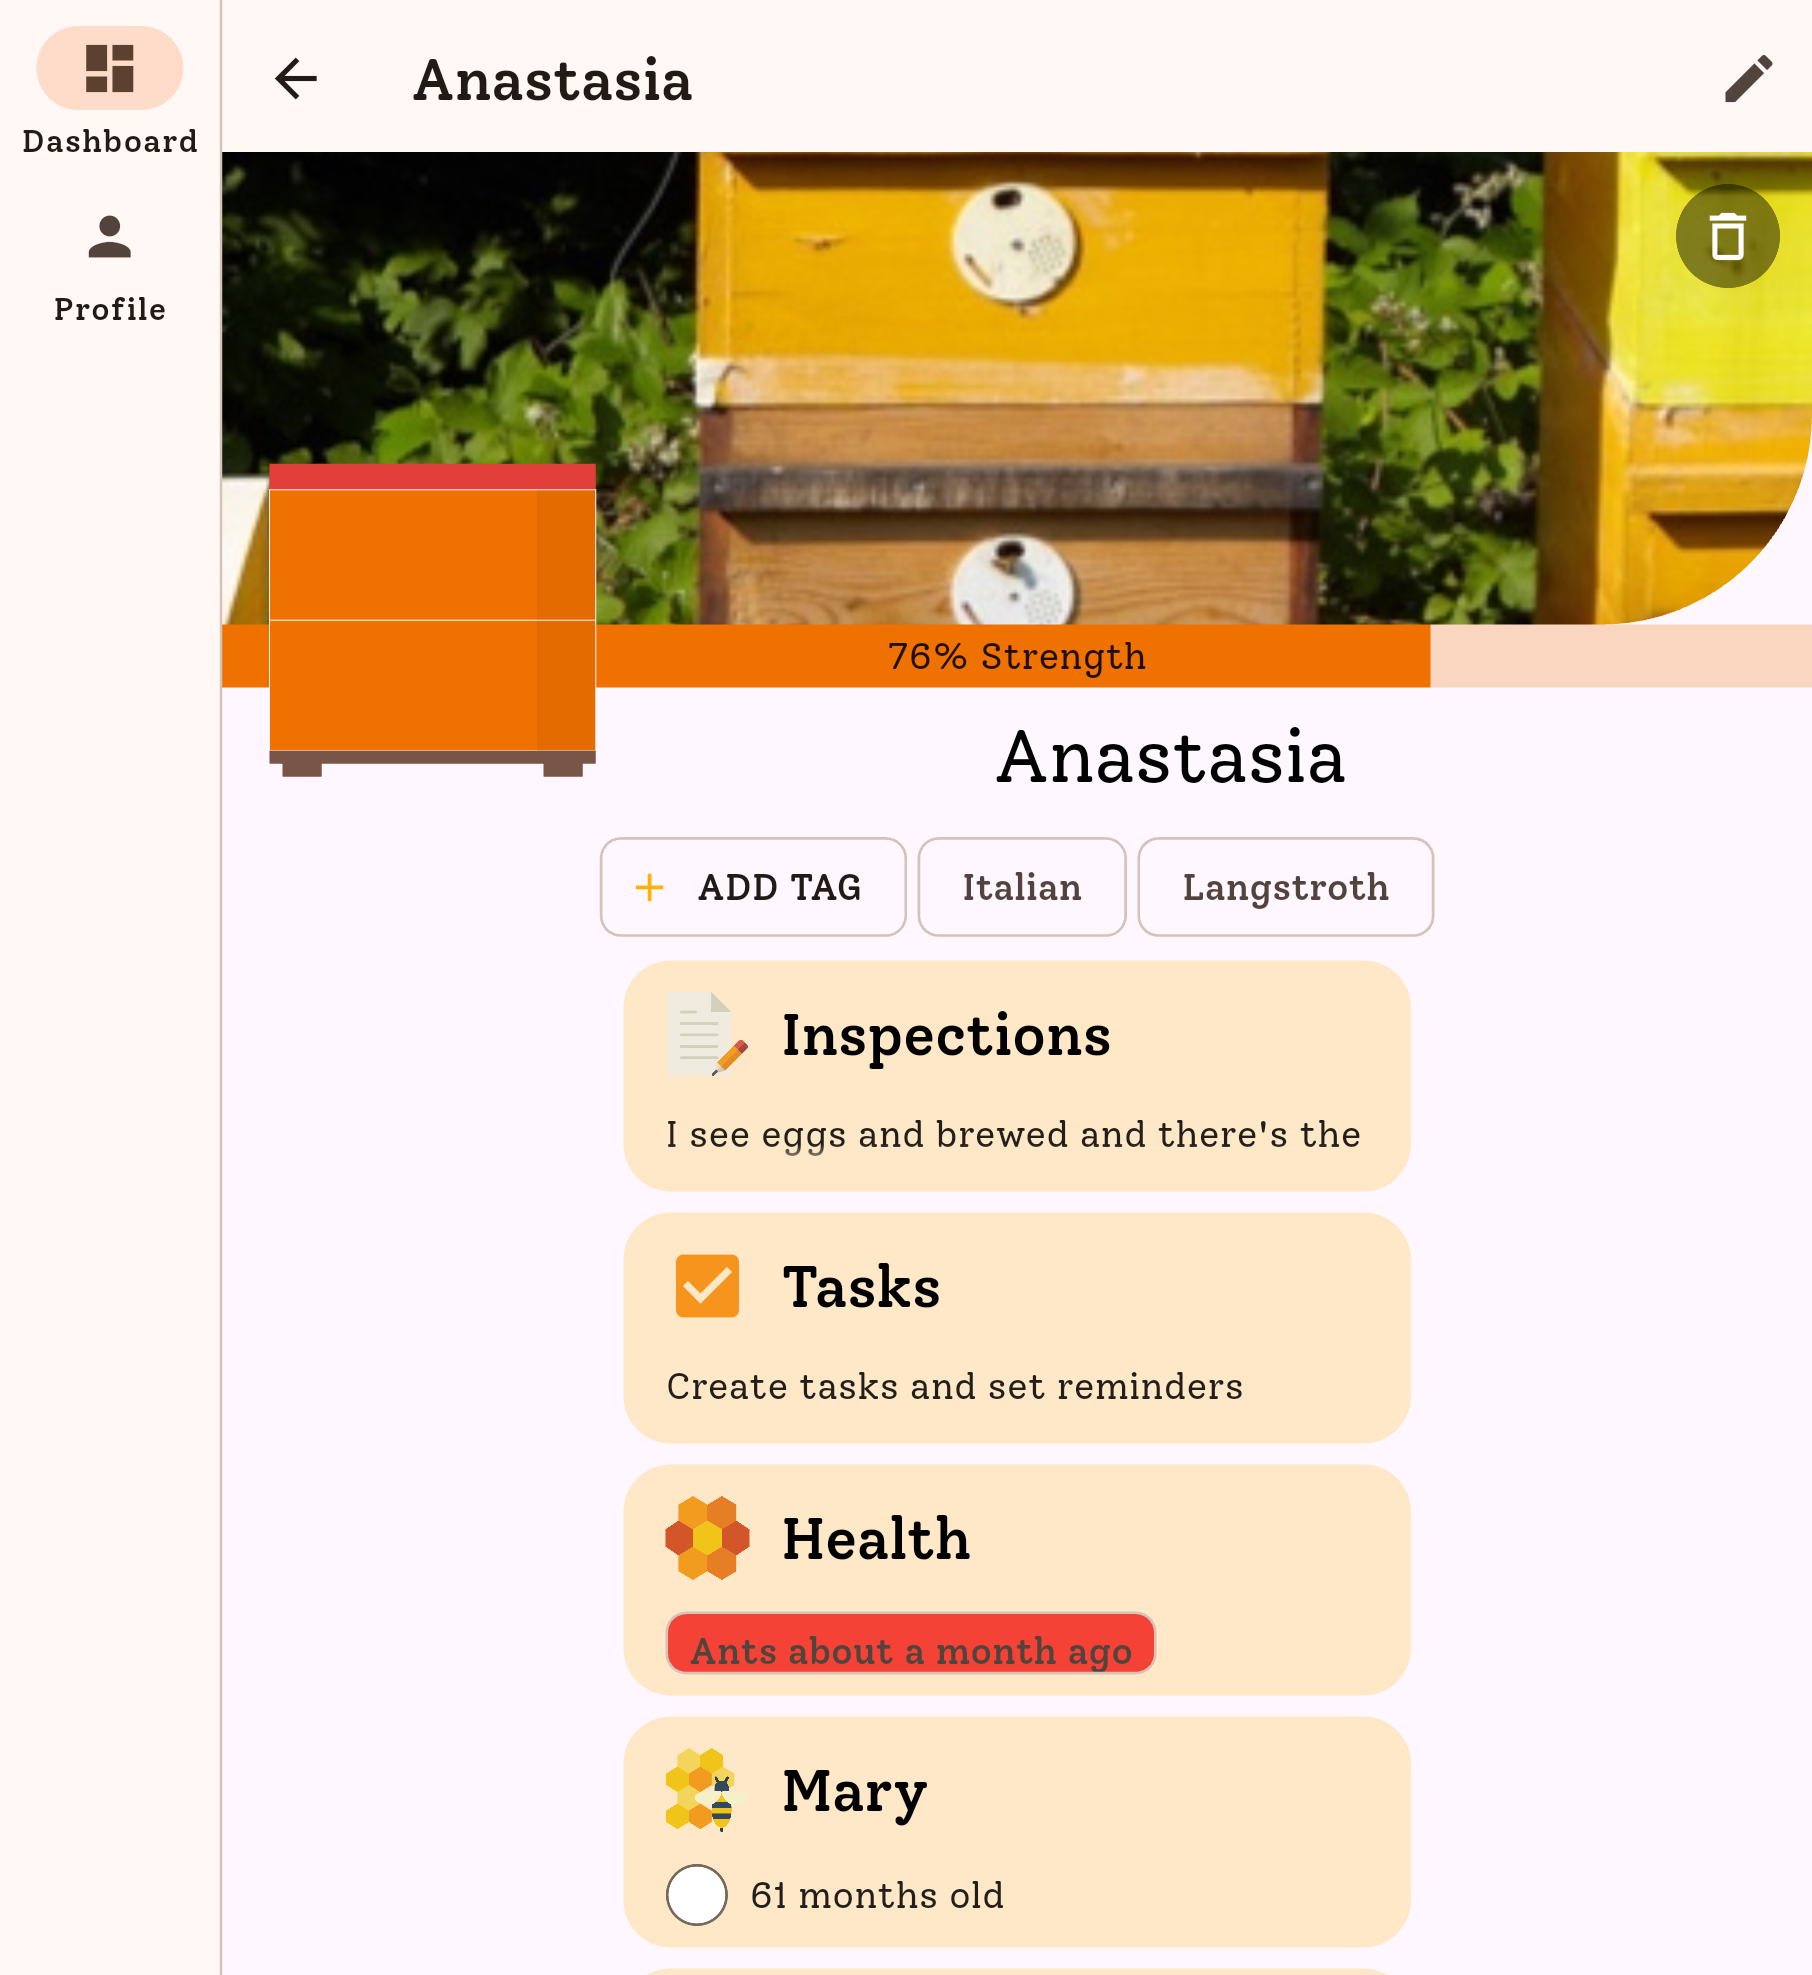
Log each step in HiveBloom so you can see the full timeline at a glance. Note the date you notched, the date you confirmed queen cells, and the expected date to check for eggs. When you come back three weeks later and open the split, you’ll have all the context you need without relying on memory.
A Few Common Problems
No queen cells built. The larvae may have been too old, or the bees may not have accepted the queenless situation. Check that there are no emergency cells built from other frames. If the bees found eggs elsewhere, they’ll ignore your notched cells.
Queen cells torn down. If multiple virgin queens emerge at the same time, the first one out will destroy the others. This is normal. You can pull queen cells before they emerge and distribute them to other splits if you want to raise more than one queen.
Queen doesn’t start laying. Give it five weeks before concluding failure. Cold weather, rain, or predators can delay or prevent mating flights. If you’re past five weeks with no eggs and no queen visible, assume the colony is queenless and act accordingly.
OTS won’t give you the precision of a dedicated queen rearing program, but for a backyard beekeeper who wants to make splits, replace an aging queen, or build up a second colony, it’s one of the most practical methods available.