Spring Inspection Checklist: What to Look for in Your First Hive Check
| HiveBloom
The bees made it through winter. Now what?
Your first spring inspection sets the tone for the rest of the season. Go in too early and you chill the brood. Wait too long and you miss problems that compound fast. Here’s what to look for and when to do it.
When to Inspect
Wait for a day that’s at least 55-60F (13-15C) with low wind and some sunshine. The bees should be flying. If they’re clustered tight and not moving much, give it another week.
In most climates, that window opens sometime in March or April. Watch the weather, not the calendar.
What to Bring
Keep it simple:
- Hive tool
- Smoker (lit and ready)
- Protective gear
- A way to record what you see (notebook, phone, or HiveBloom)
Don’t plan to spend a long time in the hive. A focused 10-15 minute inspection covers everything you need.
The Checklist
1. Queen Status
You don’t have to find the queen herself. Look for eggs: small, white, one per cell, standing upright at the bottom. If you see eggs, the queen was laying within the last three days. That’s good enough.
No eggs and no young larvae? That’s a flag. Mark it and check again in a week before taking action.
2. Brood Pattern
A healthy brood pattern is solid and compact, with few empty cells scattered through it. A spotty pattern with lots of gaps can indicate disease, a failing queen, or other issues.
Look at the color of capped brood too. It should be tan or brown and slightly convex. Sunken, greasy, or perforated cappings are signs of brood disease.
3. Food Stores
Check how much honey and pollen the colony has left. Spring is the most common time for starvation because the colony is growing fast but nectar flows haven’t started yet.
If stores are low (less than one or two frames of honey), consider feeding sugar syrup (1:1 ratio) until natural forage picks up.
4. Population
How many frames of bees are there? A strong colony coming out of winter might cover 6-8 frames. A weak colony might only cover 2-3.
Weak colonies aren’t necessarily doomed, but they need monitoring. They’ll build up slower, are more vulnerable to pests, and may need to be combined with a stronger hive if they don’t improve.
5. Signs of Disease or Pests
While you’re in the hive, keep an eye out for:
- Varroa mites visible on bees or in drone brood
- Deformed wings on adult bees (a sign of varroa-transmitted viruses)
- Chalkbrood (white, chalky mummies on the bottom board or at the entrance)
- Foulbrood (sunken cappings, ropy larval remains, sour smell)
If something looks off, take a photo and note it. You can research or ask for help later. Don’t panic in the moment.
6. Space
Is the colony running out of room? If bees are covering all available frames and the outermost frames have brood, it’s time to add a box. Crowding in spring is one of the main triggers for swarming.
Write It Down
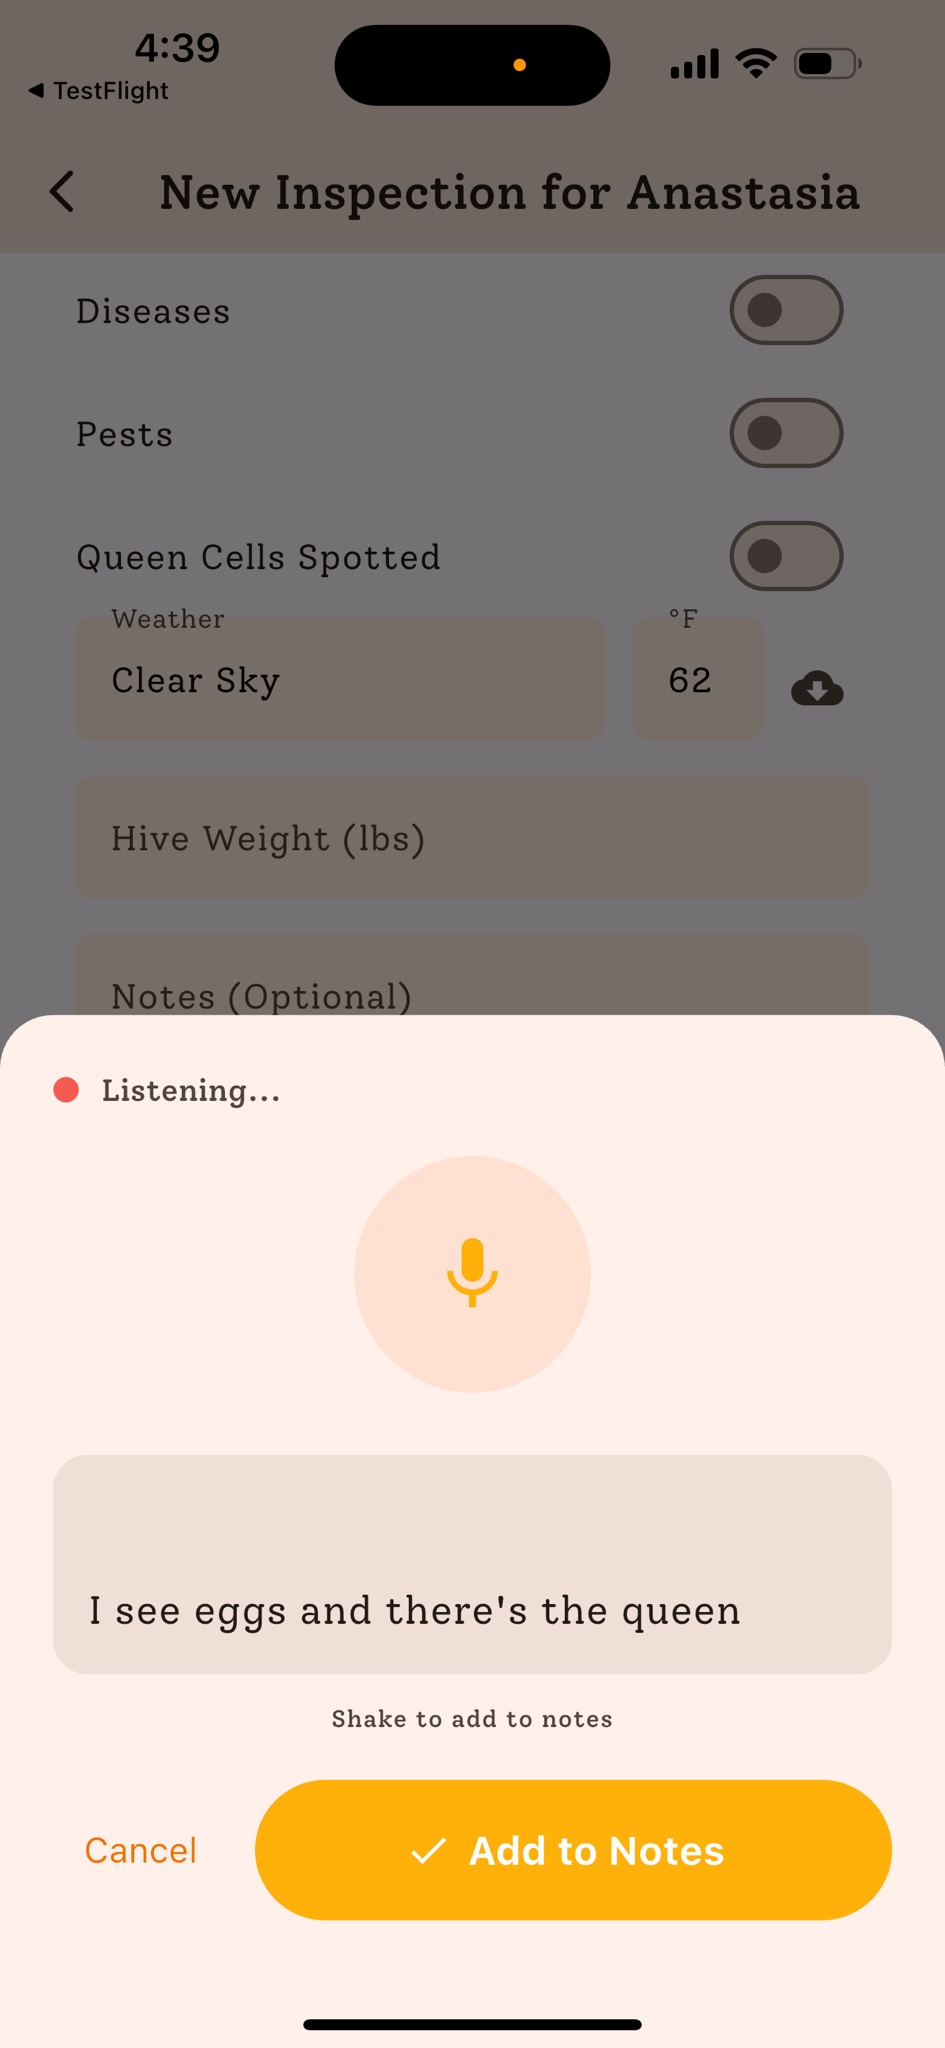
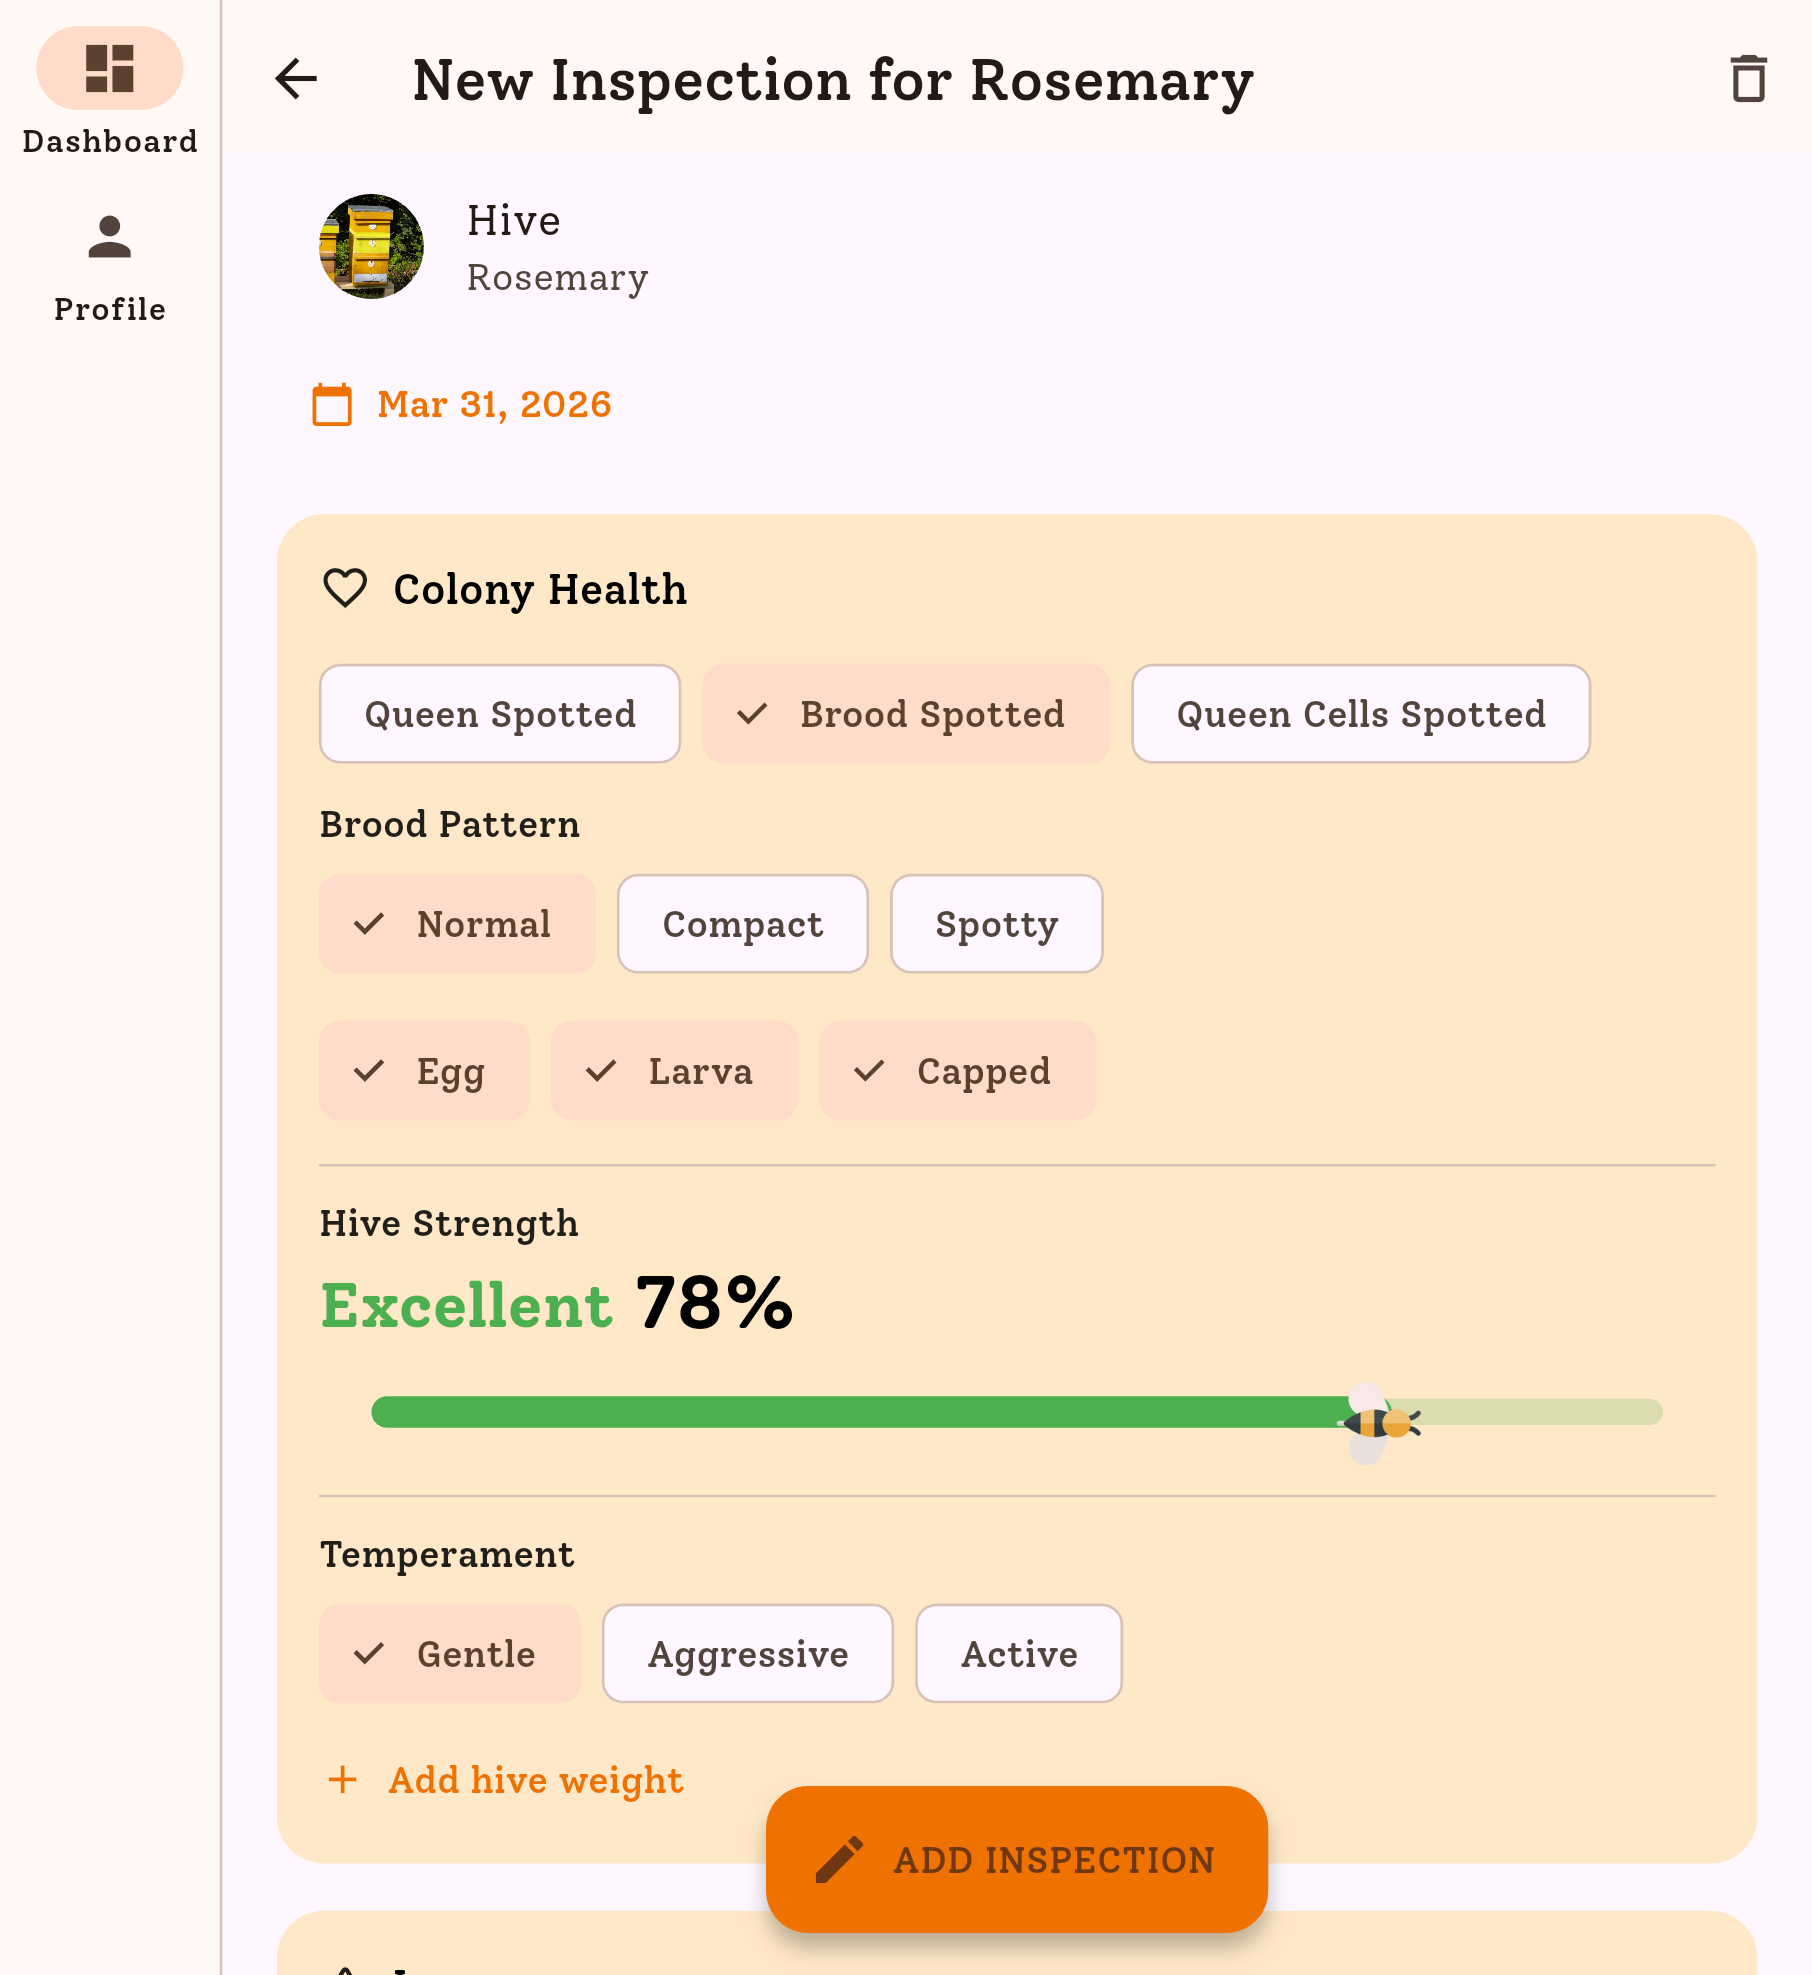
The biggest mistake beekeepers make isn’t missing something in the hive. It’s forgetting what they saw by the time the next inspection comes around.
Record your findings while they’re fresh. Note the date, queen status, brood pattern, estimated population, food stores, and anything unusual. When you come back in two weeks, you’ll know exactly what to compare against.
Over time, these records become your most useful tool. You’ll start to see patterns: which colonies build up fastest, when your local nectar flow starts, how quickly stores get consumed in spring. That’s the kind of knowledge that makes you a better beekeeper.