Preparing Your Hives for Winter: A Beekeeper's Checklist
| HiveBloom
Winter doesn’t kill most colonies. Poor preparation for winter does.
The work you do between August and the first hard frost determines whether your bees make it to spring. Here’s what matters, in the order you should do it.
Start Earlier Than You Think
Winter prep begins in August, not October. By the time cold weather arrives, most of the critical decisions are already behind you.
The reason: winter bees are different from summer bees. The bees that will carry the colony through winter are raised in September and October. They live for months instead of weeks, and they need to be healthy, well-fed, and free of high varroa loads. Everything you do in late summer is about giving those winter bees the best start.
Step 1: Treat for Varroa (August-September)
This is the single most important thing you can do for winter survival.
Varroa mites weaken winter bees by feeding on their fat bodies and transmitting viruses. A colony that goes into winter with a high mite load will almost certainly die, even if it has plenty of food and a strong population.
Count your mites. If you’re above 2-3 mites per 300 bees, treat. Don’t wait. Common late-summer treatments include:
- Formic acid (Formic Pro): works at a range of temperatures, kills mites in capped brood
- Thymol (Apiguard, ApiLife VAR): needs daytime temps above 60F
- Amitraz strips (Apivar): takes 6-8 weeks, so start early if using this
Follow up with a mite count after treatment to confirm it worked. If counts are still high, treat again with a different method.
Step 2: Assess and Feed (September-October)
After harvest, check how much honey each colony has stored. This is their food supply for the next four to five months.
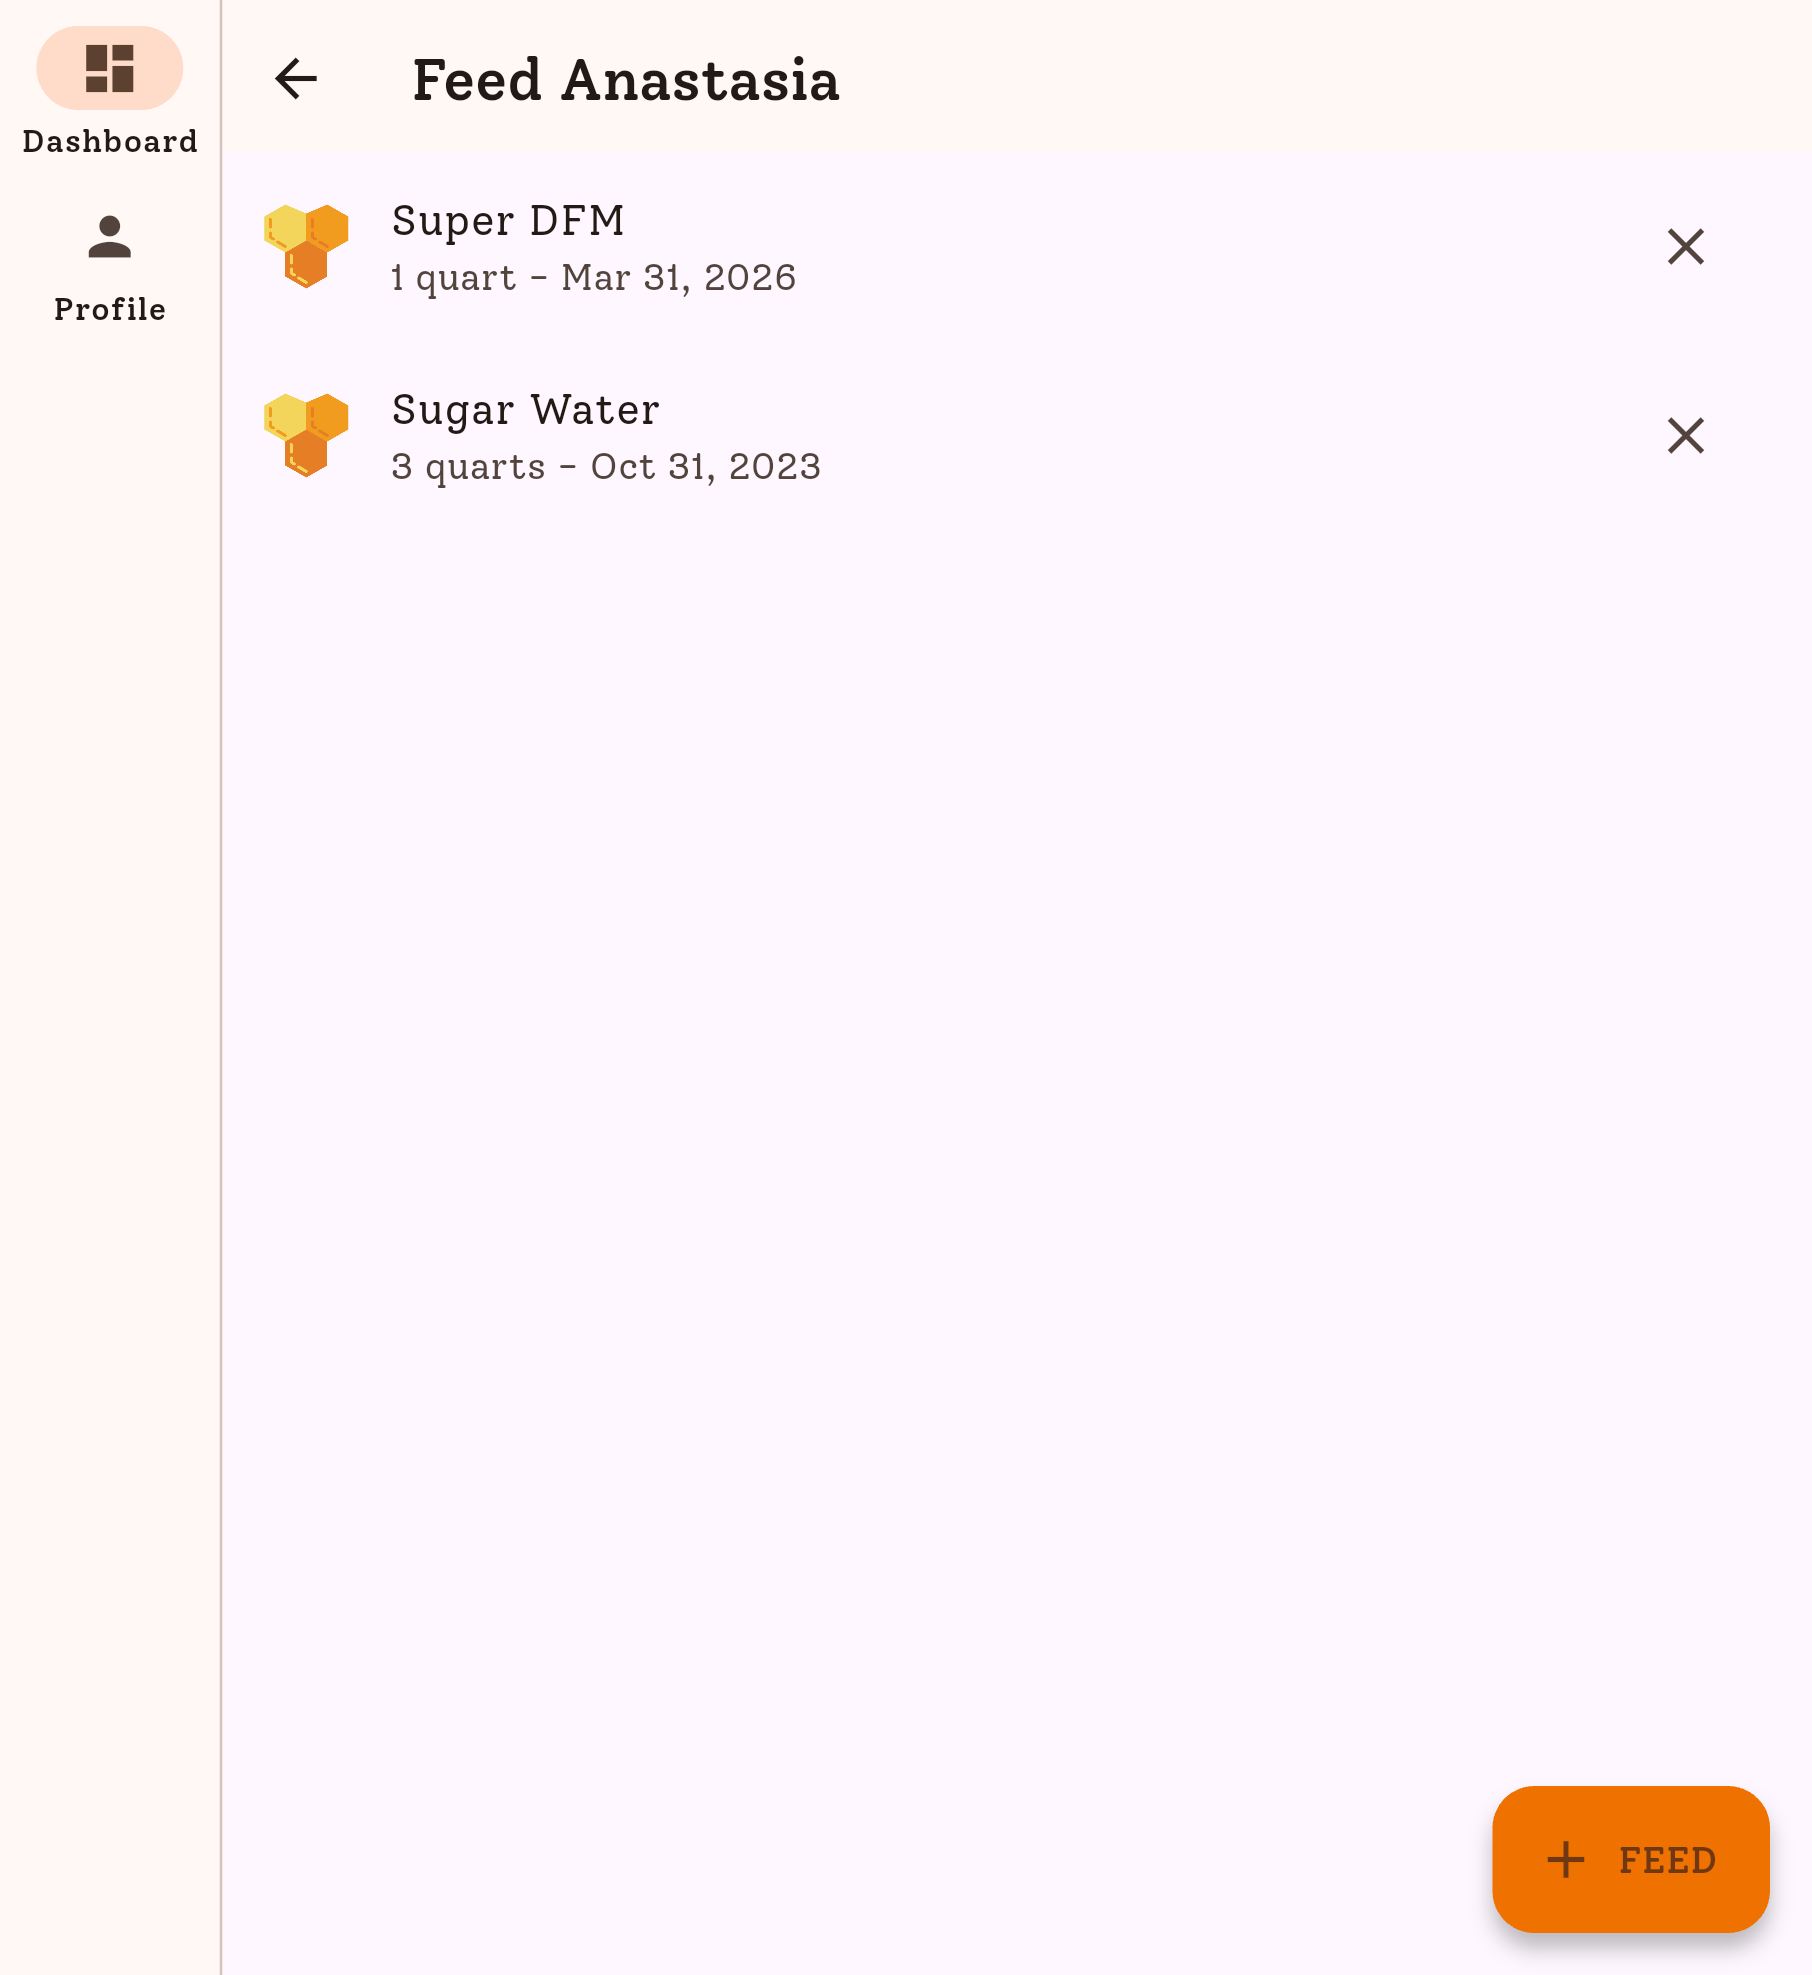
A colony in a cold climate needs 80-100 lbs of honey to survive winter. If they’re short, feed heavy sugar syrup (2:1 sugar to water by weight). Feed early enough that the bees have time to process and cap it before cold weather shuts them down. Once nighttime temperatures are consistently in the 40s, feeding becomes much less effective.
A full deep frame is about 6-8 lbs. A full medium frame is about 4-5 lbs. Weigh or estimate what’s there and do the math.
Step 3: Combine Weak Colonies
A small cluster cannot keep itself warm through a cold winter. If a colony is covering fewer than 5-6 frames of bees heading into October, it’s at serious risk.
You have two options:
- Combine it with a stronger colony using the newspaper method. Place a sheet of newspaper between the two hive bodies. The bees chew through it slowly, allowing them to gradually merge.
- Boost it by adding frames of capped brood from a stronger hive.
Two weak colonies combined into one strong colony is better than two dead ones in March. It’s a hard decision, but it’s the right one.
Step 4: Ensure a Good Queen
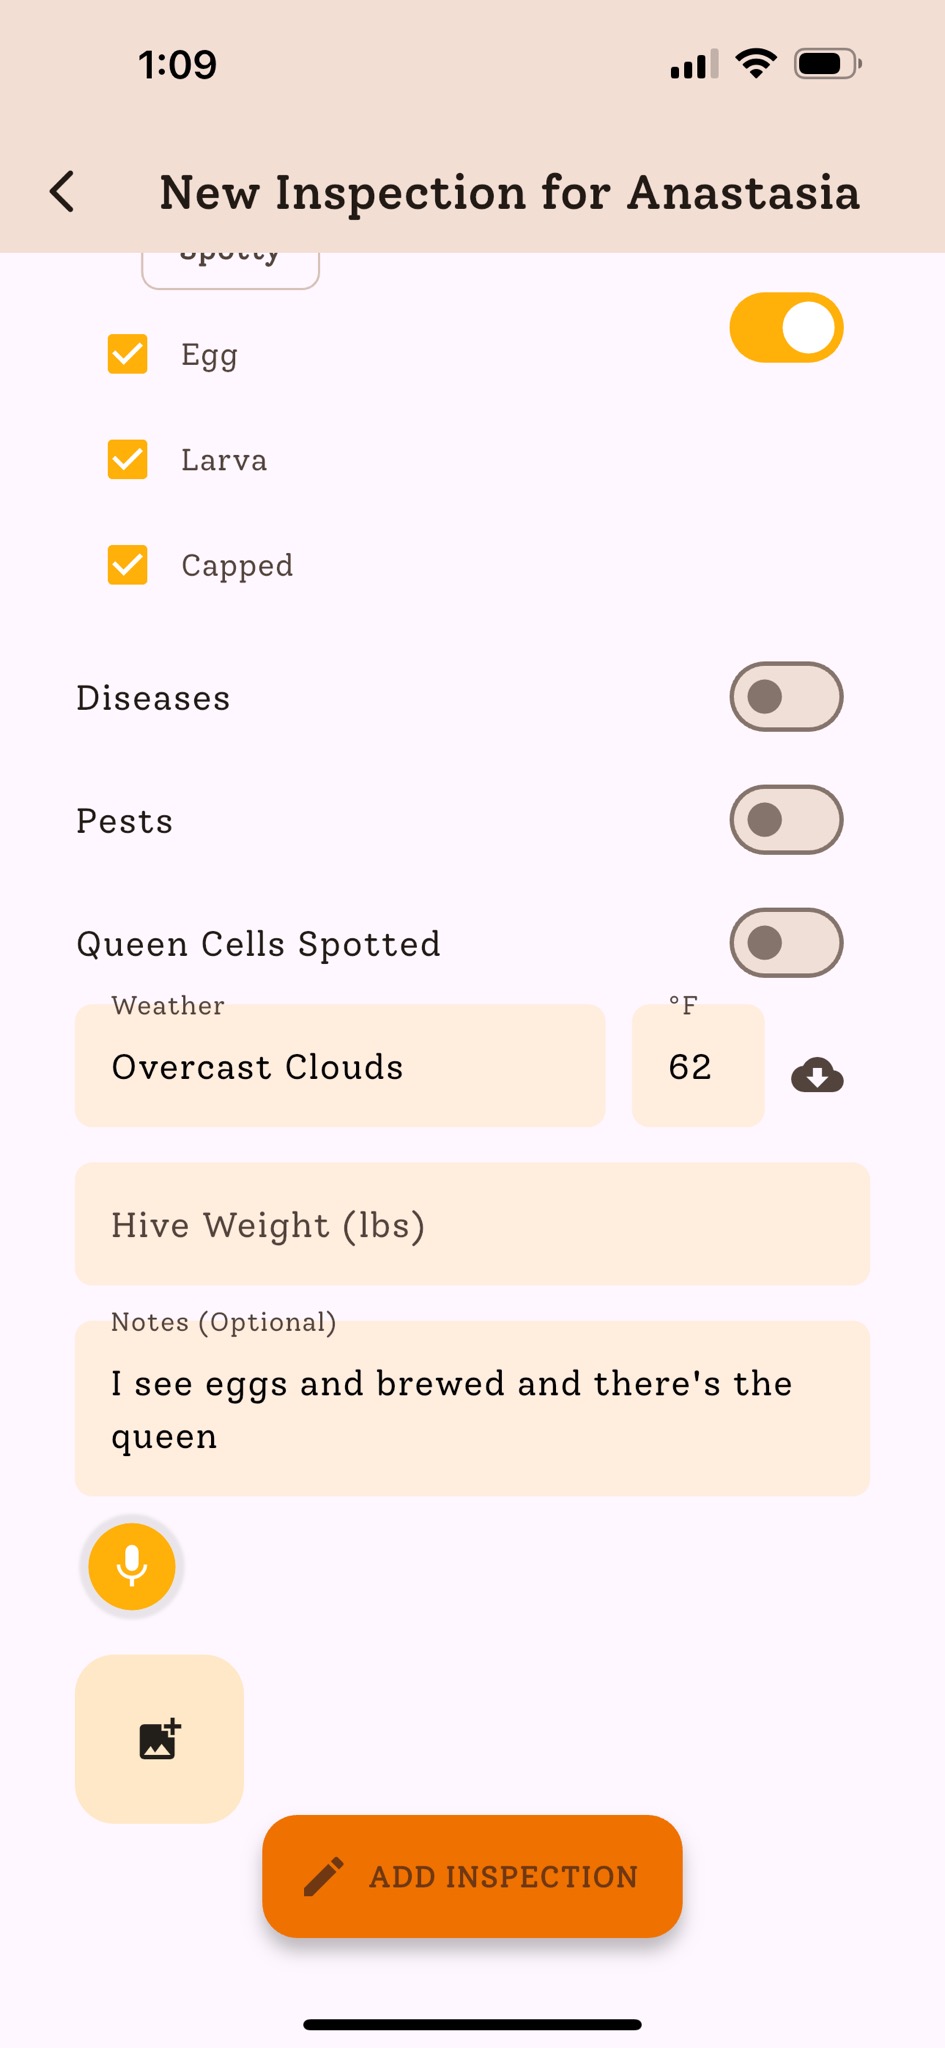
A colony going into winter needs a strong, mated queen who’s been laying well. Signs of a healthy queen:
- Solid brood pattern with few gaps
- Eggs and young larvae visible in the fall
- Good population for the time of year
If you suspect a failing queen, September is your last good window to requeen. A new queen installed in late September has time to get established and produce the winter bees the colony needs.
Step 5: Reduce and Protect the Entrance
Once cold weather arrives:
- Install a mouse guard. Mice will move into a warm hive for the winter and destroy comb. A metal entrance reducer with holes too small for mice but large enough for bees solves this.
- Reduce the entrance to a small opening. This helps the bees defend against robbing (common in fall when nectar is scarce) and reduces cold air flow.
Step 6: Ventilation and Moisture Control
Cold doesn’t kill bees. Moisture does. A cluster of bees generates heat and water vapor. If that moisture condenses on the inner cover and drips cold water onto the cluster, it can kill them.
Ensure your hive has:
- An upper entrance or ventilation notch to let moist air escape
- A moisture board or quilt box above the inner cover to absorb condensation
- A slight forward tilt to the hive so any water drains out the front entrance
Don’t seal the hive up tight. Airflow is essential.
Step 7: Windbreak and Sun Exposure
Position hives to take advantage of winter sun (south-facing if possible) and protect them from prevailing winds. A fence, building, or row of hay bales on the north and west sides makes a meaningful difference.
In extreme climates, some beekeepers wrap hives with tar paper or insulated wraps. This helps with wind but shouldn’t eliminate ventilation. Make sure the upper ventilation remains open.
The Winter Checklist
Here’s the summary, in order:
- August: Mite count and treatment
- September: Follow-up mite count, assess stores, begin feeding if needed
- September: Evaluate queen quality, requeen if necessary
- October: Combine any weak colonies
- October: Install mouse guards, reduce entrances
- November: Add moisture management (quilt box or moisture board)
- November: Set up windbreaks, ensure hive tilt and ventilation
Through the Winter
Once the hive is buttoned up, leave it alone. Don’t open it when it’s cold. You’ll break the propolis seal the bees have built and chill the cluster.
On warmer winter days (above 40-45F), you may see bees taking cleansing flights. That’s normal and healthy. You can heft the hive from the back to gauge the weight. If it feels light, you can add a sugar board or fondant on top of the frames as emergency food without a full hive opening.
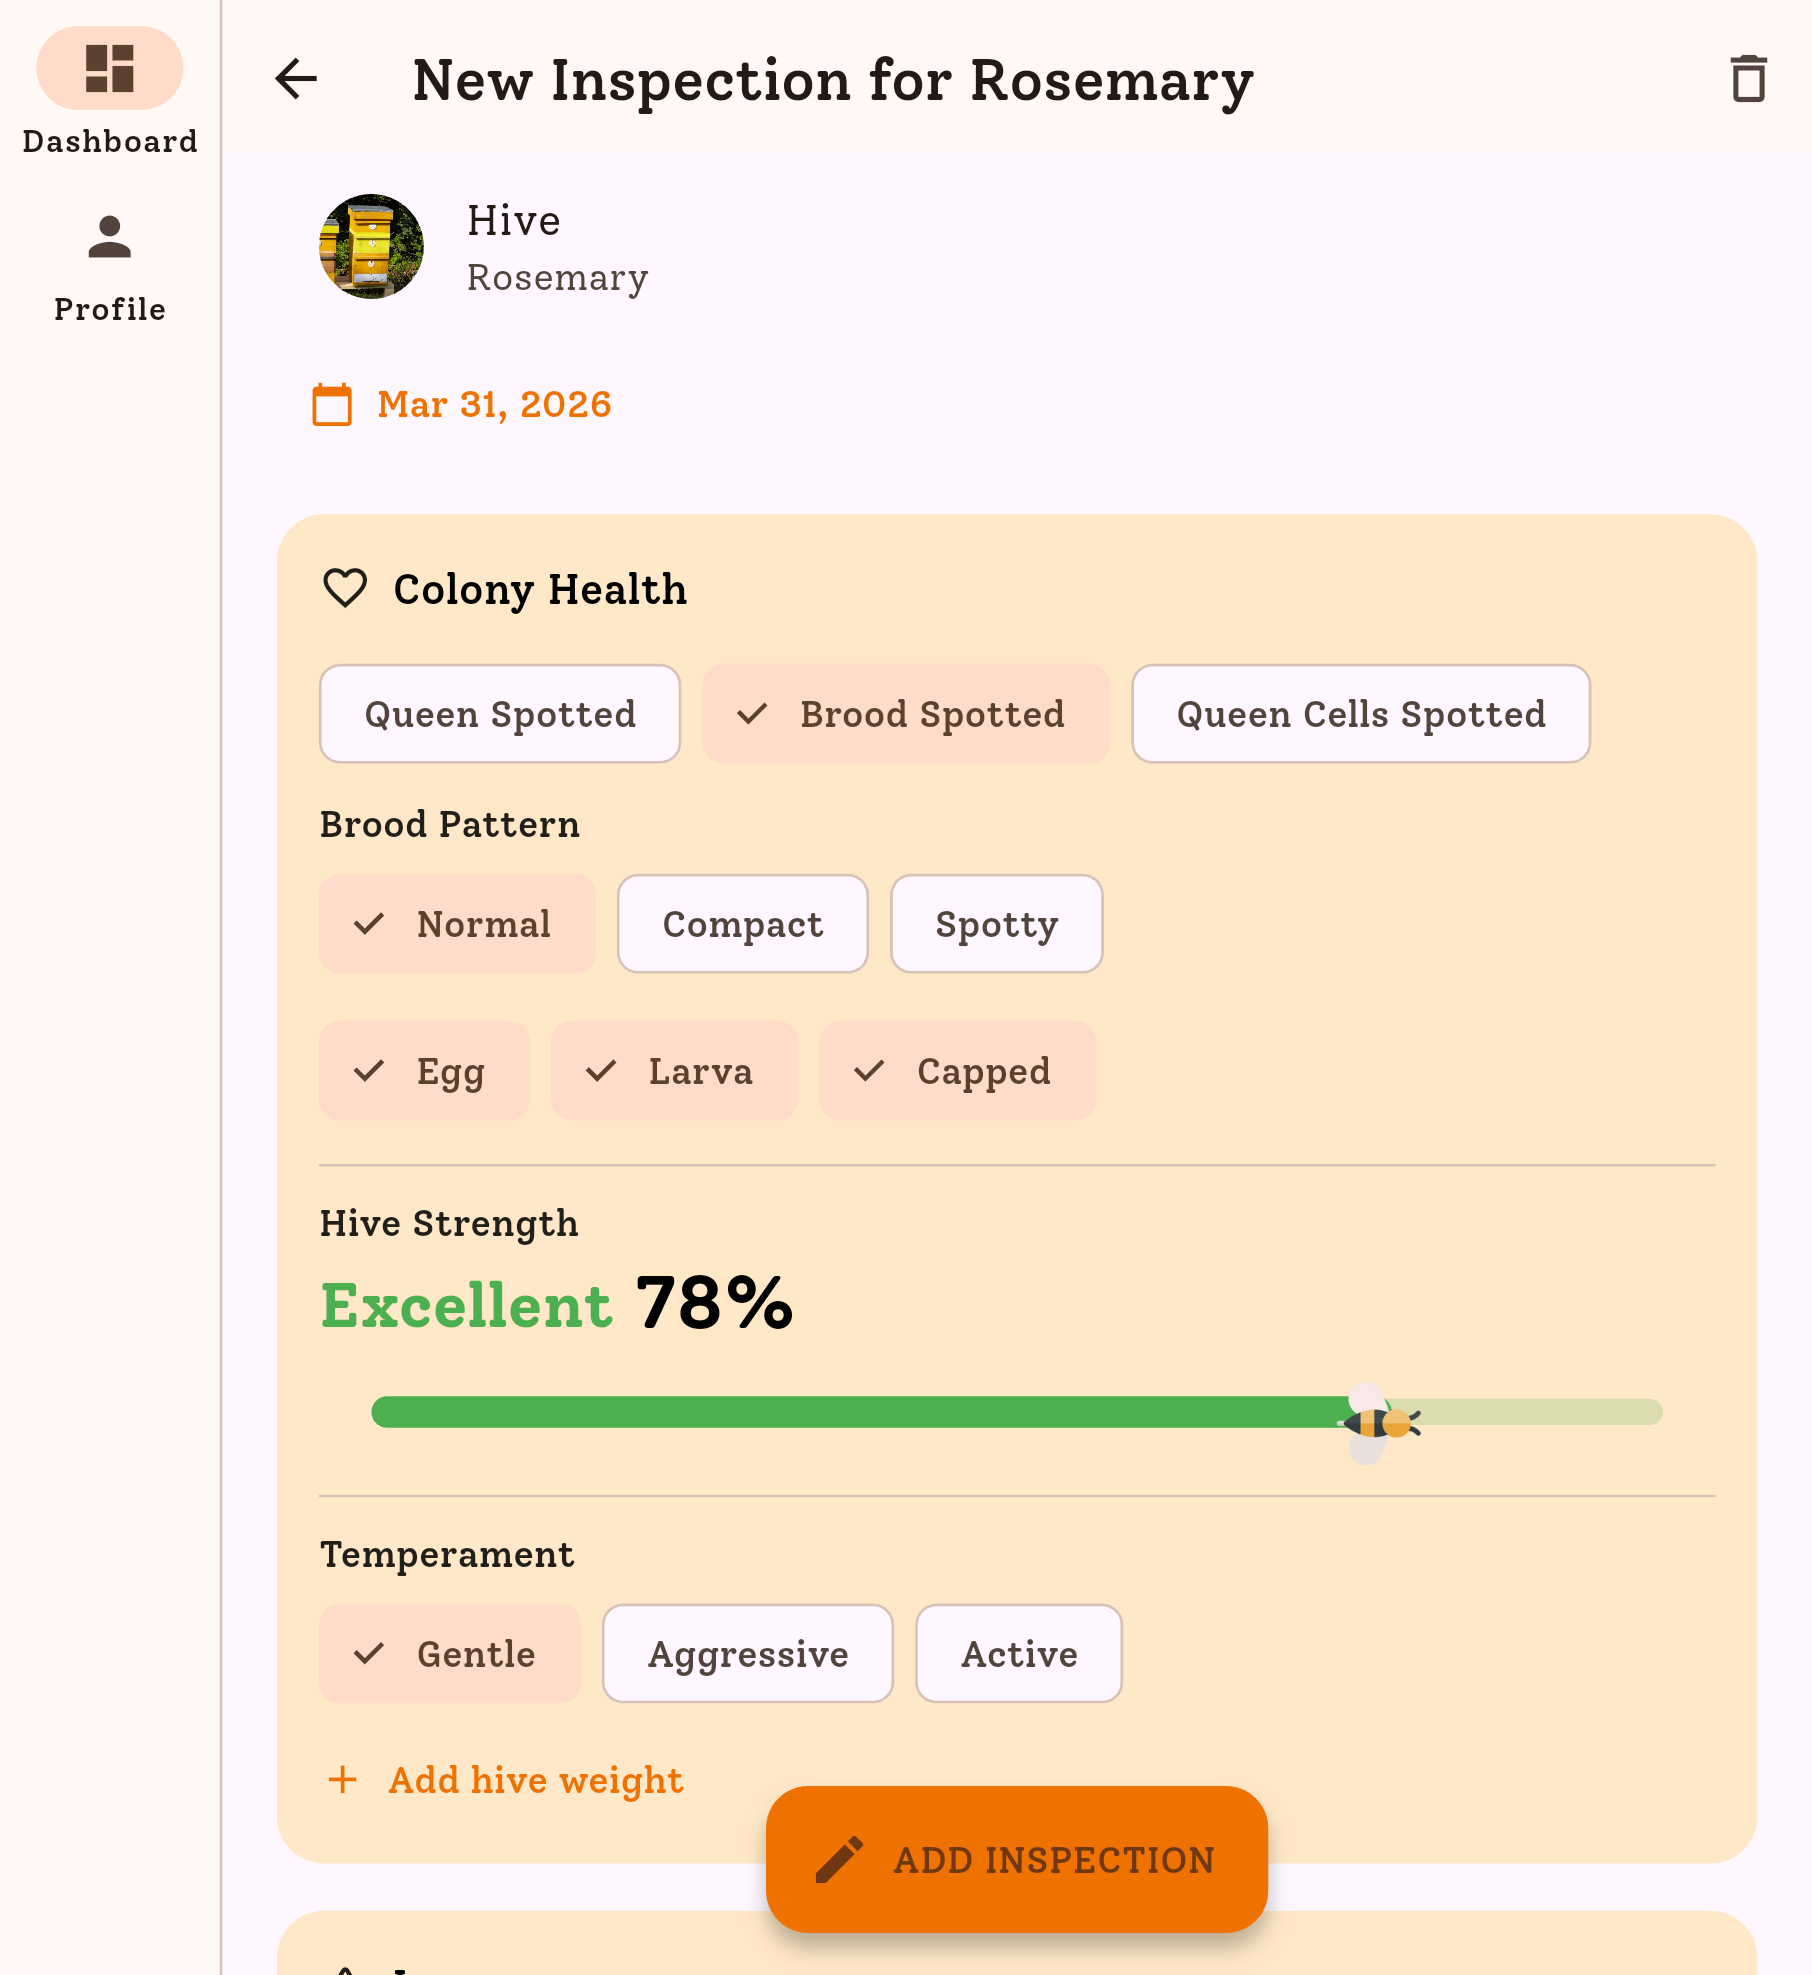
Record the date you winterized each hive, what treatments you applied, your estimate of stores, and the population strength. When spring comes, you’ll want to compare your fall notes with what you find on that first warm inspection day. Over time, this is how you learn what works in your climate, with your bees, in your specific situation.